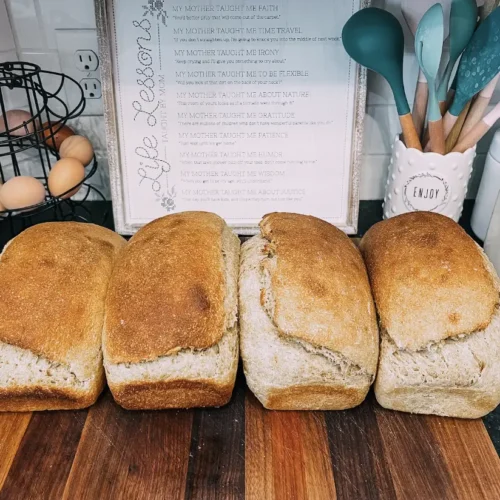
Have you learned about how great sourdough is for our gut? That’s what got me so interested in starting to make our own cause I love bread but don’t love the inflammation that can come with it! Turns out, bread is not the enemy. It’s all the dead flour and junky fillers that are added to the breads we’re getting from the store! I’ve been doing my own experiment over the last few months and I’ve been eating everything I make – including breads and breakfast foods and I’m STILL LOSING MY BABY WEIGHT and feeling so great!
If keeping up with a sourdough regimen is intimidating, steal this time saving tip!
On Sunday, I doubled this recipe and make 4 loaves of sandwich bread to get us through the entire week without another baking day. I kept two out and put two into the freezer to pull out later on and they were just as delish that way. If you have the desire to make more of your foods from scratch, batch baking is definitely something that will save you time and clear out a lot of the overwhelm or feeling like you have to be in the kitchen allllll the time.

Sourdough Sandwich Loaf
Equipment
- 2 bread pans
- 1 digital scale
- 1 bowl
- 1 kitchen cloth
- 2 poofing baskets
Ingredients
- 735 g warm water
- 255 g sourdough starter
- 1050 g all purpose flour
- 50 g oil (we use avocado)
- 40 g maple syrup or huney or sugar
- 20 g fine salt
Instructions
- Step 1: In a large mixing bowl, combine warm water and sourdough starter. Mix until frothy.
- Step 2: Add the rest of the ingredients and mix until fully incorporated. Cover and let it sit for 20 min.
- Step 3: After 20 minutes, stretch and fold the dough over itself about 7 times. Let it rest for 15 minutes, the repeat this stretch and fold process. Continue this process of stretch + fold + 15 minutes rest 4 times. If you need to, you may keep dough in fridge overnight and pick back up at step 4 in the morning.
- Step 4: Once finished, cover and let rise until dough doubles in size. If your house is warm, it will take about 3-4 hours.
- Step 5: Place dough on flour covered work surface and divide in half. Shape each balls into loaves by making into a rectangle and folding like a book and then rolling it up.
- Step 6: After they are rolled up, make tension in the dough by pushing it away from you and then pulling towards you. Keep repeating this until the dough feels bouncy and together.
- Step 7: Now place dough into bread pans or poofing baskets. Let rise for additional hour. Preheat oven to 400.
- Step 8: Once poofed, the dough will be 1" higher than the bread pan. Score the loaf and spray with water. Place into oven for 35 minutes or until bread is 200F in center.
- Step 9: Take out of the oven and let cool for an hour.


